I get asked about this alot- what is the best way to pack a unicycle when flying overseas? The great thing about unicycles is that they are virtually bombproof. Unlike bikes, there are no derailleurs, suspension forks, or other sticky outy bits to get tangled up in transit. At least until we start adding complexities like geared hubs and disc brakes!
I have seen riders walk into an airport check-in counter with their unicycle and hand it over with no packing, and it usually arrives on the other side in one piece. For those of you who want a bit more protection, get yourself a uni bag.
Bike Boxes
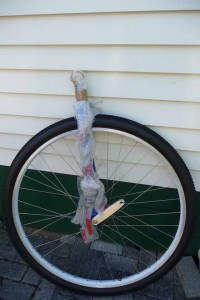
Avoid these on our unicycle tours, unless you’re the type who likes travelling heavy, having bits falling out, soggy cardboard, and unicycle parts strewn all over the airport. They are not practical if you want to travel after getting to your destination (even broken down flat, they are unwieldy). If you are travelling from the airport to the hotel only, and staying in one location, they may be ok. Bicycle-wheel boxes may work better than bike boxes, unless you have a 36.
Suitcases
These work great for protecting your unicycle, but are only practical for smaller unicycles, and you have to pack your clothes and other stuff around the unicycle. They’re heavy and bulky. Once you get to your destination, you have a big suitcase to lug around.
Unicycle Bags
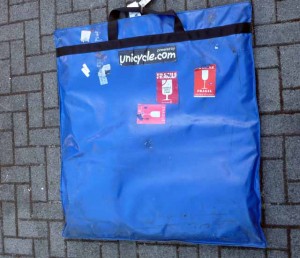
The advantage of a bag is that you can line it with cardboard, then throw it away at your destination and it will fold down into a very small package. You can sew it yourself, or in my case, I had it made by a canvas shop which specialises in outfitting trucks and caravans.
Keep it simple. You can make all manner of shapes and sizes, but I still prefer a square bag with a zip on top. Round bags don’t sit upright, are more difficult to make, and often fit just one size snugly-other wheel sizes tend to flop around inside.
This particular bag is made from ripstop PVC and has a heavy duty zip. It has been several times around the world with only minor scuffmarks. It’s heavier than it should be….I would use lighter material next time.
5 minute packing guide:
1. The Bag, with obligatory Unicycle.com sticker!
2. A Handle is useful
3. Heavy duty zips are a must. If possible, make your bag with a double zip so you can lock it with a padlock
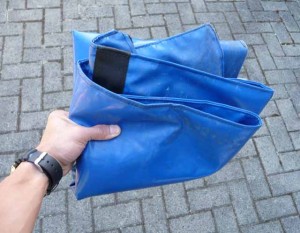
4. Folding down the bag into an A4 sized package
5. Corrugated plastic is more robust than cardboard, but harder to come by. There is always cardboard available- so just throw it away when you get to your desitnation. On the way back, you can usually get more cardboard at the airport (eg any retail shop/fast-food place will be glad to get rid of them).
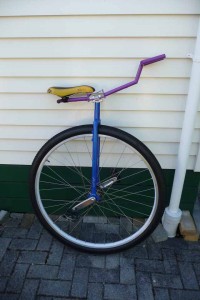
6. My Schlumpf 36″ with T7 handlebar, ready for packing!
7. Line the bag with the corrugated plastic or cardboard
8. You need two layers to sandwich the unicycle between
9. Wrap your unicycle up in bubblewrap or cloth. This protects the paintwork
10. Stick it in between the two layers of cardboard/corrugated plastic
11. Make sure the seat tube is covered so it does not poke a hole in your bag
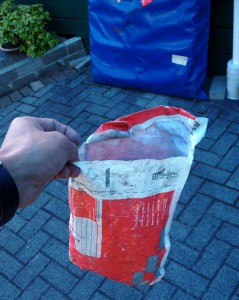
12. Other parts like the seat should be packed separately. If you’re lazy, just wrap it up in newspaper and stick it in a plastic bag, being careful to cover all the sharp bits
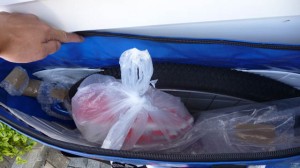
13. All wrapped up. Throw this in with the unicycle
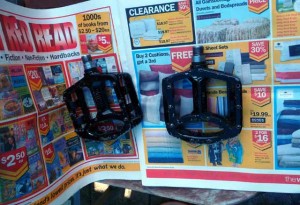
14. The pedals should be wrapped up well so they don’t scratch the unicycle. I wrap it in newspaper
15. And then throw the pedals into an old bubble wrap lined courier bag
16. And this keeps all the little bits in one place. Courier bags are useful!
17. Throw it in with your unicycle, I try to pack as much into the Unicycle bag as possible to get a snug fit. The more snugly it’s packed, the more padding around your unicycle, so throw your shoes and camelbak etc in there as well. Every item that goes in should be in little bags to keep them from falling out. Zip it up and you’re done!
Lastly
When travelling through airports, customs/checkin officials may ask you to deflate your tyre. In the event of depressurisation, it is unlikely your tyre will explode, but you have to do what they tell you. It’s best to keep the tyre on as it protects the rim.
Word of caution….if you run an inner tube, NEVER let all the air out, just make the tyre squishy enough to satisfy check-in people. If you deflate completely, you will end up with a rim pinch puncture if the bag is dropped.
